A low-cost way to get hands-on UAS experience is to purchase a hobby drone and practice with it before making a bigger investment in a commercial-grade unit. I’ve talked to UAS professionals who agree . Why? The low cost makes it easy to afford and less painful should you crack it up. And, trust me on this, you will crash it. Because when you’re learning to fly a UAS, you should practice—a lot. So why risk a $10-20K UAS when you’re in your “noob” phase?
As a bonus, when you’ve moved on from your hobby drone to a commercial-grade unit, the hobby drone makes a nice gift for a deserving youngster. Who knows, maybe it will spark an interest in geospatial technology. Win-win!
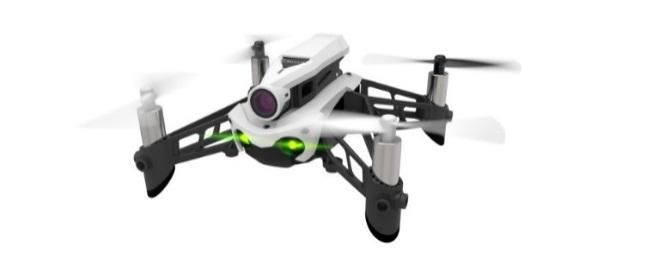
I’m told that giving oneself a gift is the epitome of selfishness. I’ve also heard it’s the best way to get what you really want. Going with that second thought, I bought myself a Parrot Mambo FPV for Christmas. The Mambo is one of Parrot’s minidrones; the FPV stands for “first person view” that’s enabled by a 720 HD forward-facing camera that’s attached to the top side.
First, a caveat:
I want to make it crystal clear that in no way, shape, or form will this hobby drone take the place of a commercial-grade UAS. This is just for practice flying and general UAS orientation, not real geospatial work.
Selection considerations:
I picked the FPV based on my positive experience with the Parrot brand of drones (this is my third) and its price/feature value—$150 for a camera drone with a battery, a joypad, and FPV flight googles. Also, the forward-facing camera, while designed for drone racing, might give the user elementary experience with inspection missions, a growing application for UAS.
Opening the box:
As noted above, the Mambo FPV minidrone package comes with pretty much all you need to get started. Notice that I say “pretty much”; I found a pair of items that you should considering purchasing before you start flying.
- The camera does not come with a microSD card that’s necessary to record imagery. Why would you not want to do this? A $10-15 32 GB microSD card is a must-have.
- The unit comes with one battery giving you approximately 10 minutes of flight time. So adding another battery (~$25) is highly recommended. In fact, for a few dollars more I’m seeing a three-pack of batteries with a charger, which would provide a lot more flight time and be a better value.
Going forward:
In part two of this series I’ll give you my impressions on setting up and flying the Mambo FPV. Old Man Winter is creeping onto my doorstep, though, so I may need a break in the weather to launch this baby; part two may be a tiny bit later this year.
No spoiler preview: I highly advise you to read part two of this series to get all the details before purchasing a Mambo FPV.