As blogs come, this has to be (for me) one of the longest. You see, I’ve been playing with Cesiumjs since its beginning and following the exciting beginnings of the “3D Tile” for the last 3 years. I’ve waited patiently, waiting for the moment I could share with the world how fantastic this new technology is.
Although the 3D Tile is nothing new, Cesium were the first to integrate the quadtree style rendering for vector data through a web portal. I am sure that we all sat in awe, looking at those amazing CyberCity 3D models of whole cities rendering in incredible detail. The only problem was that it wasn’t easy to replicate; by that I mean that it required specific builds of Cesium (including dev build), and then it required Cesium to convert your 3D data.
All this changed a few months ago with the release of Cesium 1.35. In this release, the 3D Tile capability was included, making it possible, should you be able to convert your data to the tile format, to easily add your data and render it on the web. It is then with some luck that a few 3D tile converters have become available, one of the easiest being the converter within FME 2017.1, although there are open ways, such as this: https://www.npmjs.com/package/3d-tiles-tools.
In this piece, I aim to show you, the reader, through adding a 3D Tile dataset to the Cesium sandcastle that this can then easily be moved over to a production version should you wish to use your own data. Please note that I will be showing you through performing this on your own webhost. It is possible to do this on your localhost (personal machine), and the instructions for creating Cesium on your localhost can be found here: https://cesiumjs.org/tutorials/cesium-up-and-running/. You then only need follow the instructions from the post of adding and coding the 3D tileset.
Disclaimers
I think it is safe to say at this point that this is post was not written in conjunction with Cesium, AGI, or any other affiliate of Cesium, and this is created from my own findings. Furthermore, I am providing some 3D tile data which I have created in Esri multipatch format and then converted to 3D Tiles using FME 2017.1 without any textures or materials, as this is for demonstration purposes only. Feel free to create your own shiny data and replace my shoddy demo data. 🙂
Let’s Begin
For this, you will require the Cesium 1.36 – Link to download: http://cesiumjs.org/downloads.html
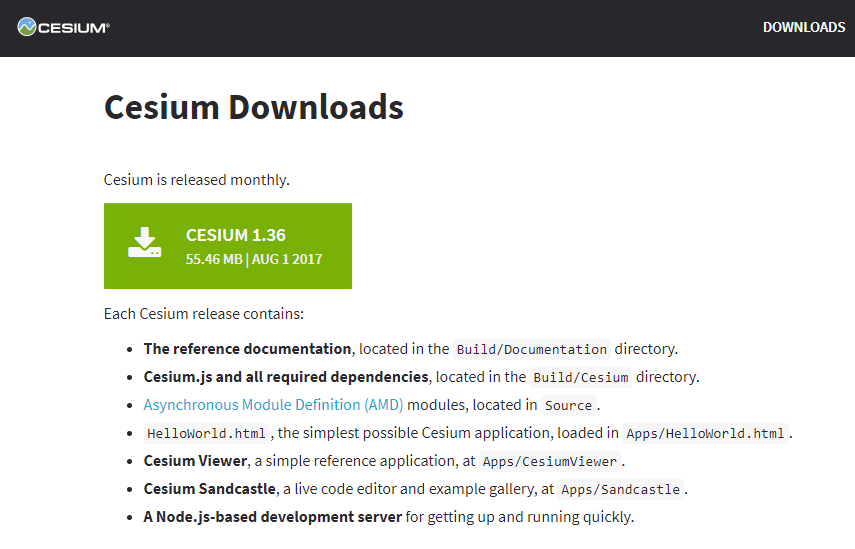
FIG 1 – Cesium Download
3D Tile dataset: https://drive.google.com/file/d/0Bxo5SyzIJT5ydDlKRVFzT0E4V3c/view?usp=sharing
I am using Filezilla for the ftp transfer to my webhost; feel free to use whatever works best for you. I find Windows 10 folder ftp quite good.
So, disclaimers and data done. Hold on tight, here we go …
- Extract the Cesium zip file and call the folder “cesium” — note that there should just be a folder called cesium with files inside it; no more folder structure than that.
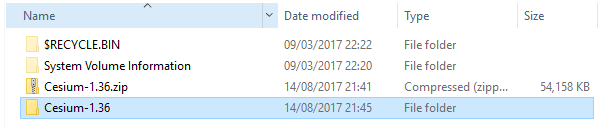
FIG 2 – Cesium Extracted
- Extract the 3D tileset to a folder. Inside this folder should be a folder called “data” which has a lot of .b3dm files (these are the quadtree, each .d3dm being a different level of detail), and above/outside this data folder should be a single file called tileset.json.

FIG 3 – Tileset Folder
- Navigate to where you wish to run Cesium from and copy the Cesium folder to it. It must be your web facing folder, so for me, it is in my root web folder of my website, http://dragons8mycat.net/cesium. Yes, it really is that easy!
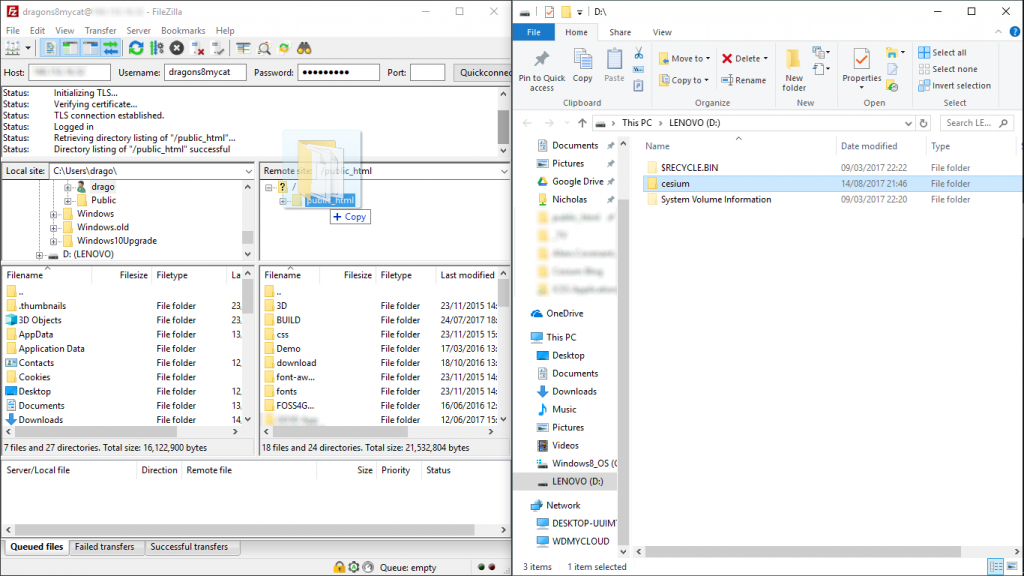
FIG 4 – Copy Cesium to Web Facing
- Check that your webpage is running the instance okay. For me, I just go to the address (http://dragons8mycat.net/cesium), and it pops up.
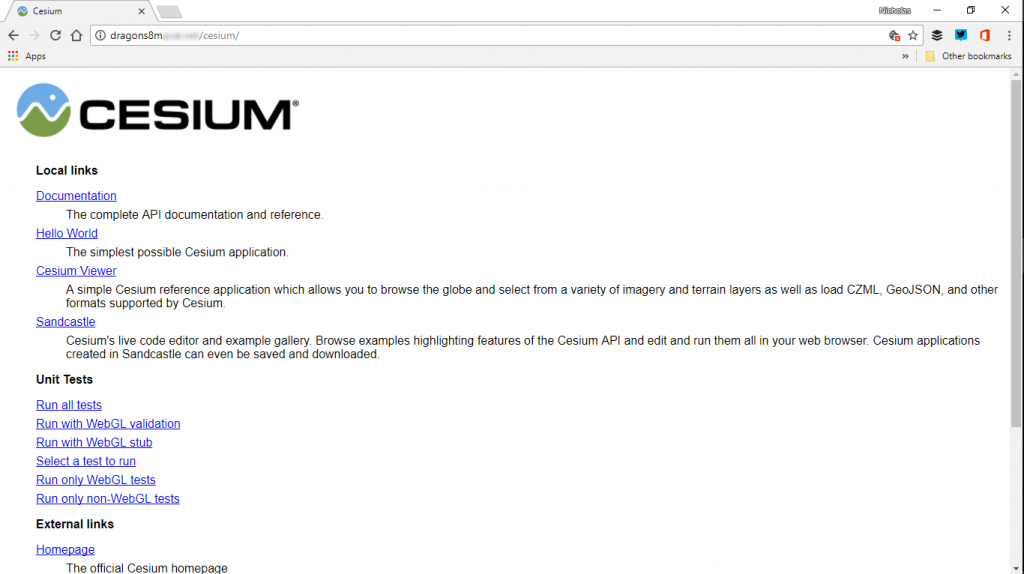
FIG 5 – Web Proof
- We are going to run the 3D tiles in the sandcastle on Cesium. For the easiest ride it is best to put the 3D Tileset I’ve given you in the folder that the 3D Tiles demonstrations use; this is within the “Specs” folder of your Cesium installation (webhost or localhost/cesium/Specs/Data/Cesium3DTiles/). Put the “data” folder and the “tileset.json” file in here, and make sure that they are not inside another folder.
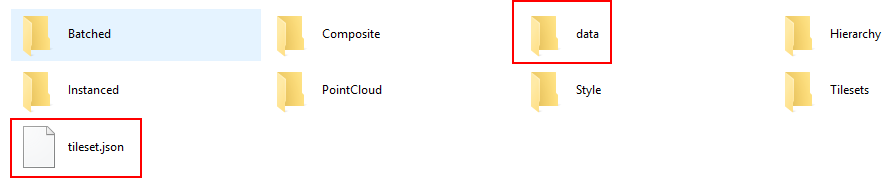
FIG 6 – Tileset locations
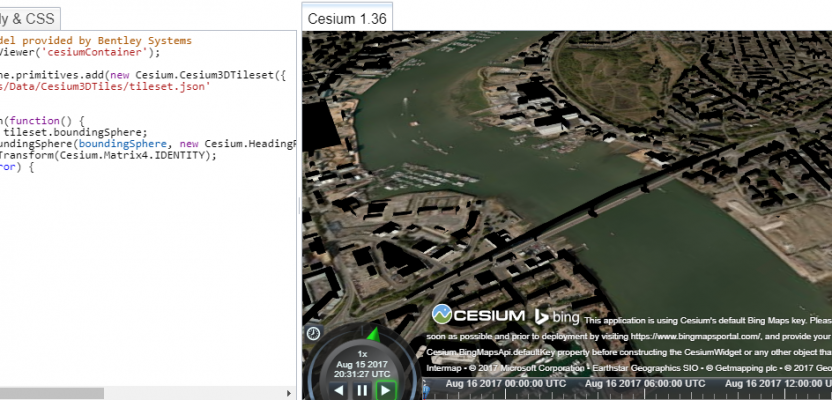
- Open your Cesium instance (http://Your host/cesium) and select the “Sandcastle” and click on the 3D Tiles tab in the bottom left. Select the “3D Tiles BIM” option. This should provide a split screen of your Cesium on the right and code on the left. You will note that if you adjust the code, it reflects on the right.
- So, we are going to get it to read our data and not theirs. Change the URL to ‘../../../Specs/Data/Cesium3DTiles/tileset.json’ and hit “RUN” in the top left (or F8).
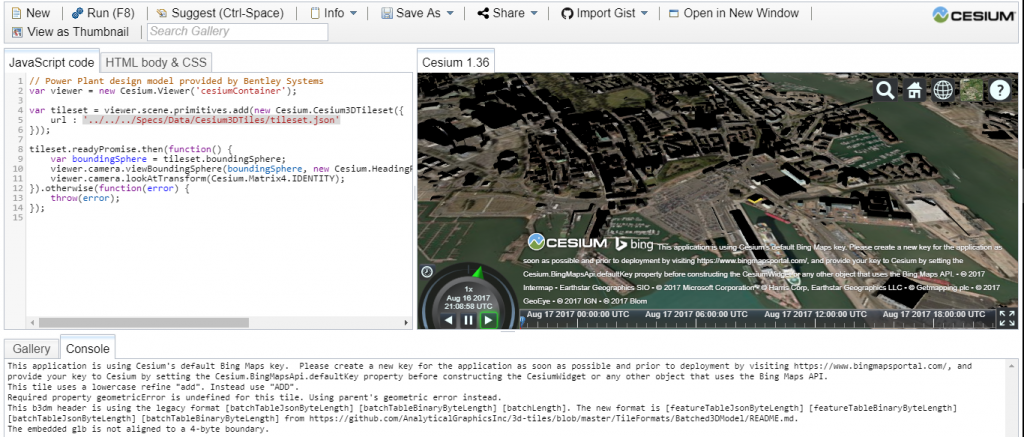
FIG 7 – 3D Tiles up and running
- Celebrate that you now have a working demo!
But wait, this is just stuck within the Sandcastle. If you want to impress the boss, you want to really put it in its own Cesium instance and show off. So let’s do it!
Let’s do this properly!
The Cesium viewer can be found in your webhost or localhost location/cesium/Apps. In here you will see a file called “HelloWorld.html”. If you go to yourhost/cesium/Apps/HelloWorld.html you will see that it brings up a blank Cesium viewer, so let’s add our own html file…
- Copy the text below in notepad and save it as “3D_demo.html”
<!DOCTYPE html>
<html lang=”en”>
<head>
<meta charset=”utf-8″>
<meta http-equiv=”X-UA-Compatible” content=”IE=edge”>
<meta name=”viewport” content=”width=device-width, initial-scale=1, maximum-scale=1, minimum-scale=1, user-scalable=no”>
<meta name=”description” content=” 3D Tiles Demo”>
<title>Nicks 3D Tile Demo</title>
<script src=”../Build/Cesium/Cesium.js”></script>
</head>
<body>
<div id=”cesiumContainer” class=”fullSize”></div>
<style>
@import url(./Sandcastle/templates/bucket.css);
</style>
<script>
var viewer = new Cesium.Viewer(‘cesiumContainer’);
var tileset = viewer.scene.primitives.add(new Cesium.Cesium3DTileset({
url : ‘../Specs/Data/Cesium3DTiles/tileset.json’
}));
tileset.readyPromise.then(function() {
var boundingSphere = tileset.boundingSphere;
viewer.camera.viewBoundingSphere(boundingSphere, new Cesium.HeadingPitchRange(0.5, -0.2, boundingSphere.radius * 4.0));
viewer.camera.lookAtTransform(Cesium.Matrix4.IDENTITY);
}).otherwise(function(error) {
throw(error);
});
</script>
</body>
</html>
2. Copy the html file to yourhost/cesium/Apps/ — yes right alongside that “HelloWorld” file.

FIG 8 – Cesium location
3. Refresh (F5)
4. Open yourhost/cesium/Apps/3D_demo.html in your browser. Woohoo!!
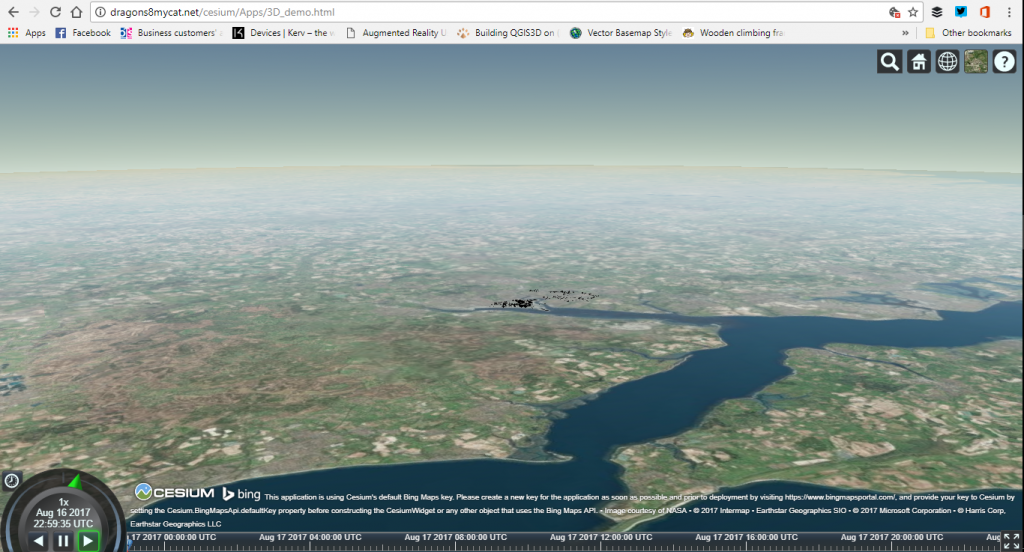
FIG 9 – All Running
5. Change line 9 to a title that suits you. Change the URL in line 21 to your own data!
Hooray!
Congratulations! Pretty easy wasn’t it? Now, the great thing is that you can go on to add lots of really cool effects simply, like shadows, atmosphere, colouring, and many more. Just look up the Cesium manual here: https://cesiumjs.org/Cesium/Build/Documentation/Scene.html
I’d love to know how you’ve got on and what you’ve created from this, so send your images on Twitter to @dragons8mycat or, if you want, send them over to nicholas.duggan@xyht.com or post them below.