Life used to be nice and easy for us GIS guys. We used to roll out of bed, click start on our GIS software, go back to bed for an hour, and then think about making a nice simple 2D map. Then, all of a sudden everyone starts talking about 3D GIS and being able to use this datum stuff. The IT happened.
To some it was a godsend: an example is the ArcMap 11 that we all waited for (for almost five years before ArcGIS Pro, all Esri users spoke of ArcGIS 11, which was going to be 64 bit and use integrated 3D). To others it was the thing of nightmares. They moved the buttons! They hid the toolbars! They integrated 3D!! The horror didn’t end there. It wasn’t until this year that they brought in the batch processing. The horror of it!
And this is where we start, with this swish, smart, ArcGIS Pro (v2.2.2 at time of writing).
I am making a 2D map for which I would like to put a shadow underneath the buildings to really make them look like they have a little depth. So, I go to my layer tools, much like I would in ArcMap, copy and paste the layer, then … oh wait … WHERE IS THE OFFSET TOOL?
Joking aside, I must have spent an hour last week trying to find the offset tool, and then, when I found it, it didn’t work. It was only after a little trial and error that I found the solution, and that was that it had been renamed to the “move” tool. I know, I know.
So, without further ado, let’s show you how to apply those nifty little shadow effects like you used to in ArcMap.
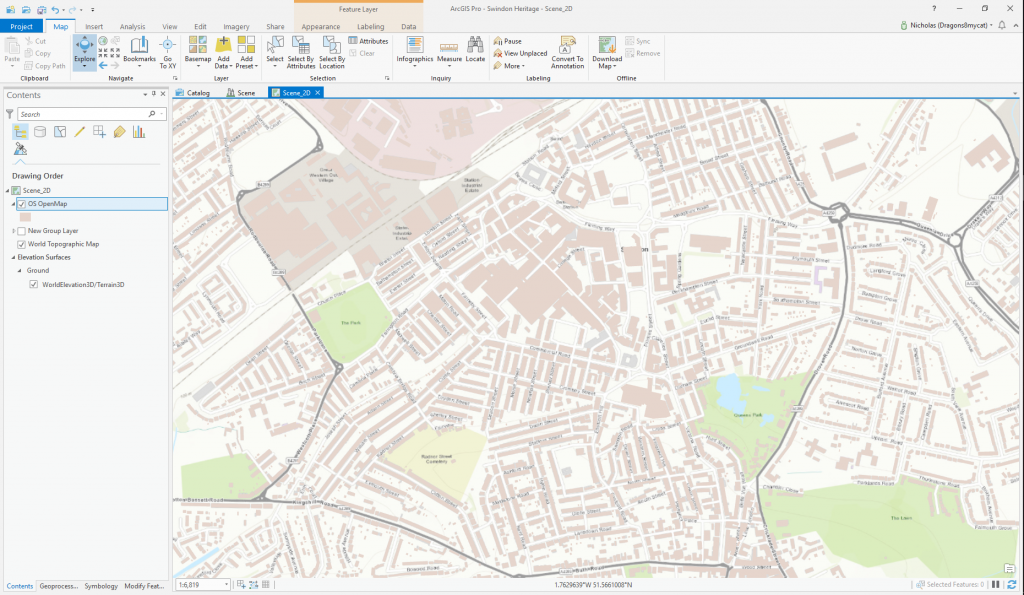
OS Open Map buildings is selected.
In the above map, you will see that I have selected the OS OpenMap buildings. This is a 2D polygon data with heights in a field called “JoinZ.”

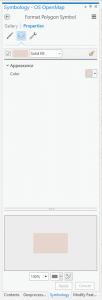
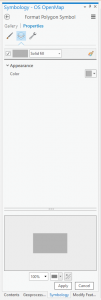
If you open the symbology pane, you can flick through the various options (shown above) in front of you, but there is no obvious option to add shadow or offset another layer to create that cool shadow effect.
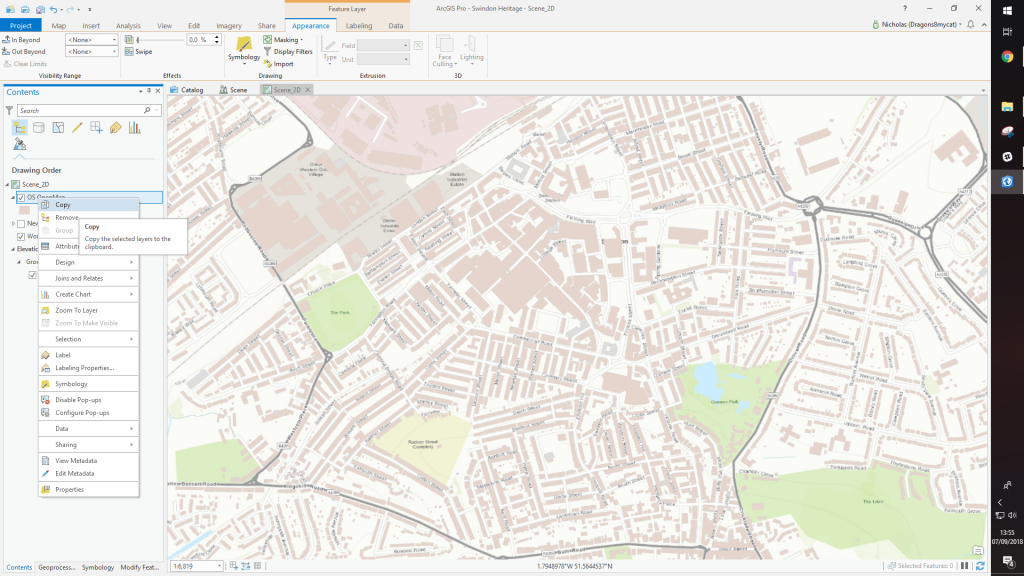
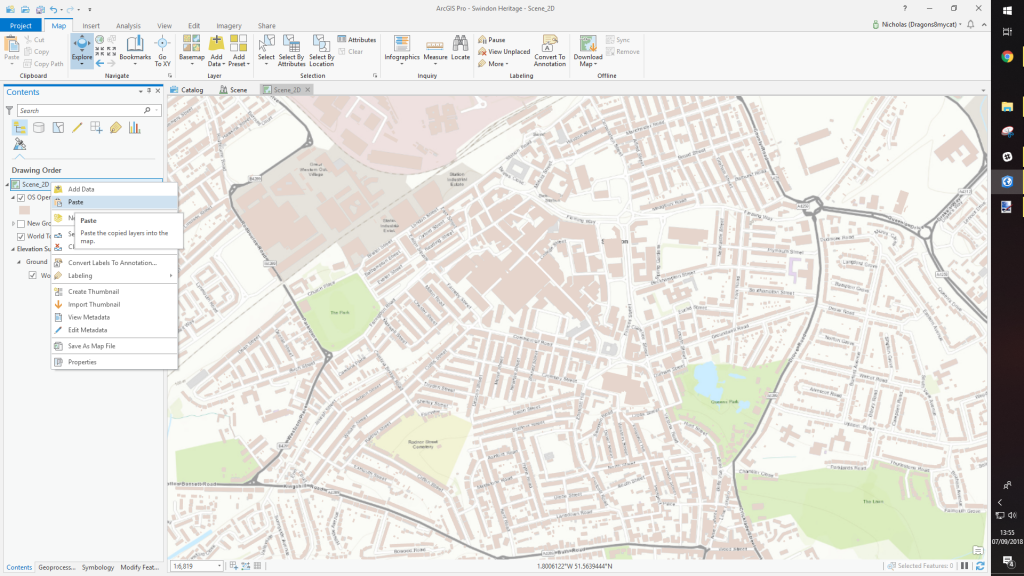
Let’s duplicate the layer by copy and pasting it, using the right-click functions, like in the above images.
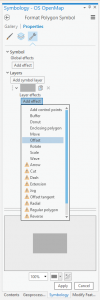
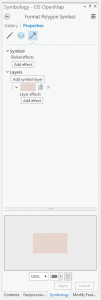
If we go to the symbology and then on to the symbol tools, like in the images above, you will see that the “offset” tool can be found under the “layer effects.” So let’s apply it.
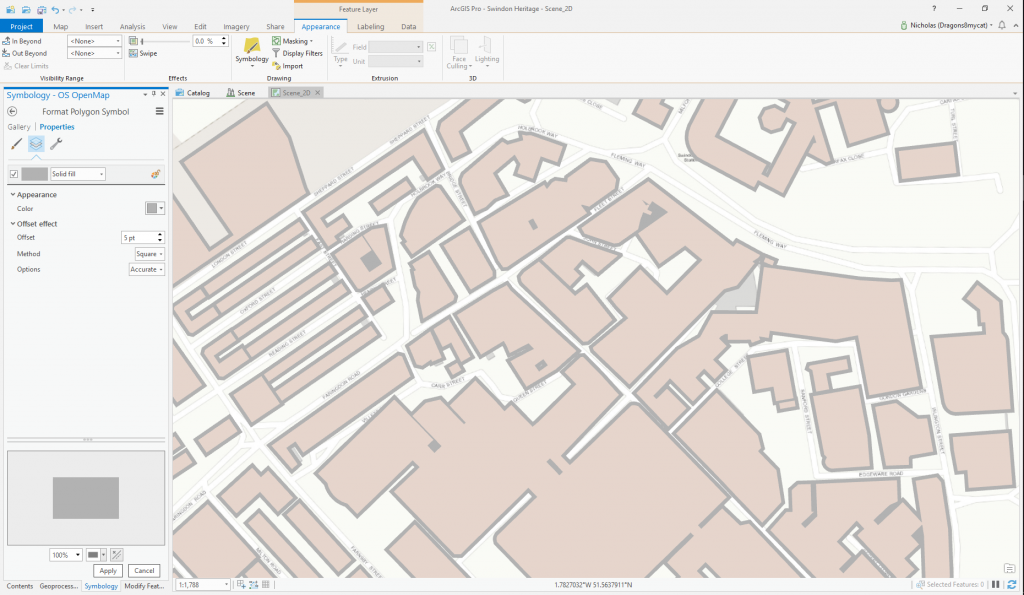
You’ll see that adding the “offset” actually creates a “buffer” effect around the building rather than applying an offset distance in a direction.
If you remove this, you will see that there is a “move” effect. Apply this instead.
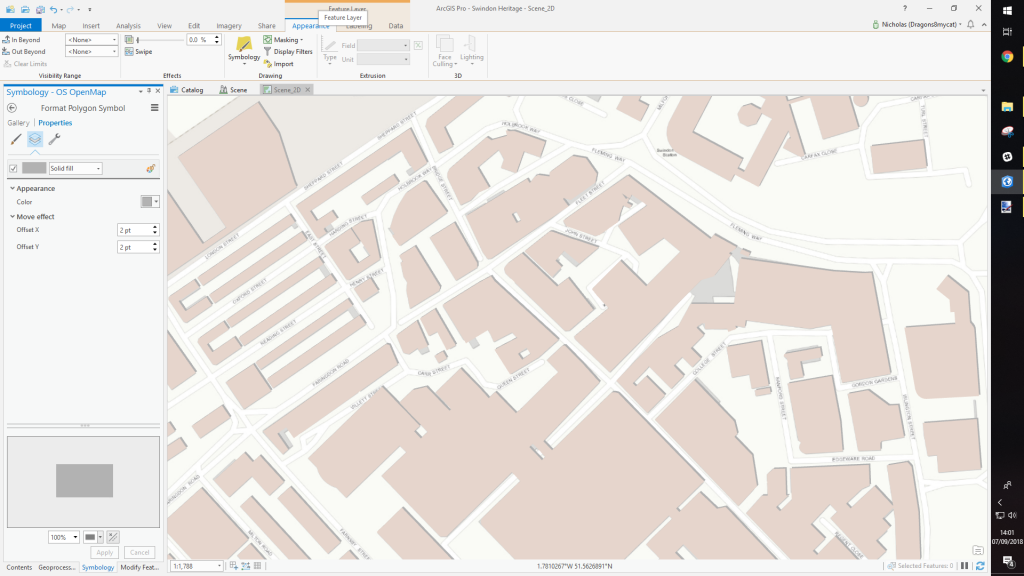
If you got it right, you will see that you have some familiar options of where to apply the “offset” in the x & y plane. Voila, you have shadows!
Now, if you really want to show off, how about varying the shadow by the building height? If you remember, I mentioned earlier that I had a field called “Joinz” where the heights of the building were held. I’ll use this to vary the shadow.
In the top right of the symbology pane there is a drop down menu.
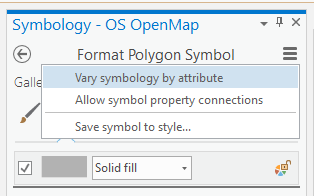
This allows you to link your coordinate system units to the symbology. If you’re using a metric coordinate system, this will mean that you can change from using points or pixels over to meters. Then, we can vary the symbology by the attribute (Joinz) to enable the height in each building.
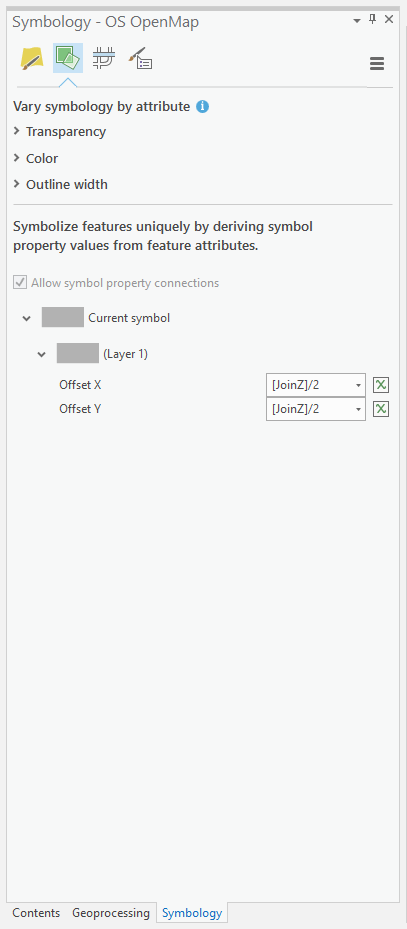
Hint: Click on the weird green “x” next to the input box to allocate the field you want to use.
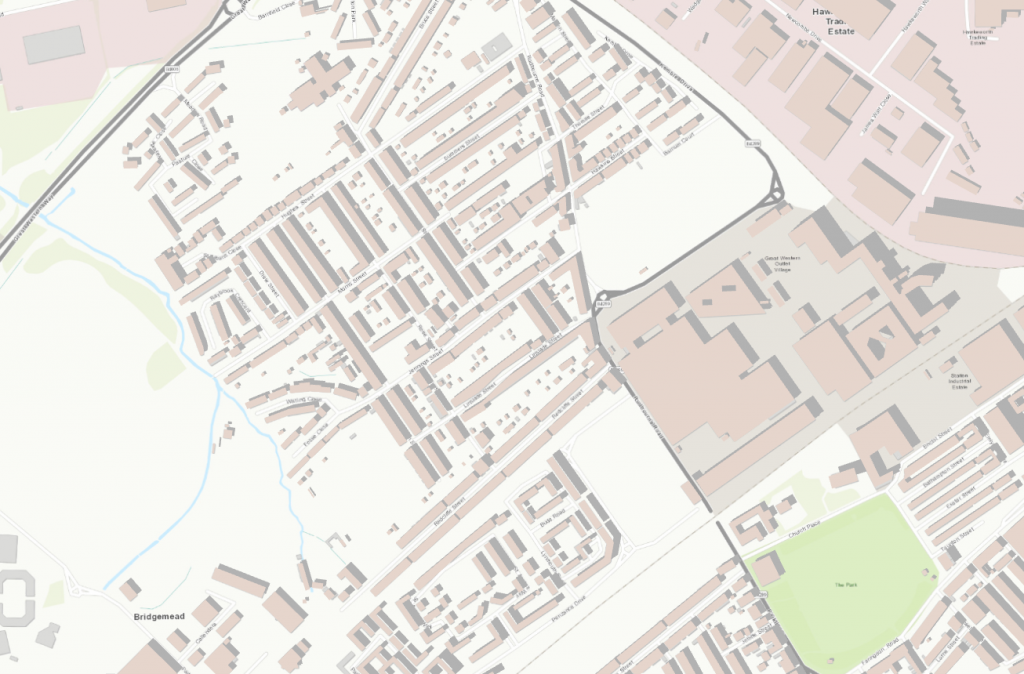
If you’ve followed this all correctly, your “shadows” (okay, duplicate offset layer), will vary based on the number in the attribute field (below).
Although I write a lot about 3D, there is still a lot we can do with the good old 2D map. Sometimes you need to put something in print and it really needs to “pop.”
I hope this helps you on your way.
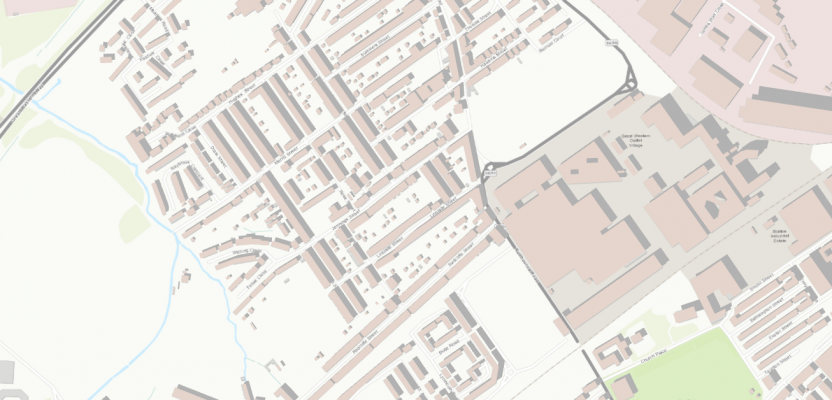
As a side note, it may interest you to know that this is the technique I used on my “What is within a 30-minute walk in London” map to add depth and contrast to the buildings in the center of the map.
Nick D