Almost two years ago to the day I wrote Webmapping 3.5 in which I did a walkthrough of QGIS2Web. Since then, QGIS has grown up, and so has QGIS2Web.
In the original blog, I discussed how you could use OpenLayers and Leaflet as basemaps. Now you can use Mapbox, too. The layout is improved and there is now the opportunity to export directly to an ftp address. You can use photos for pop-ups and use select and other project settings.
If you’ve already read the original blog, then this won’t provide you with anything really new, with the exception of showing you how to take the map you create and make it available to people.
Still here? Then, let’s being.
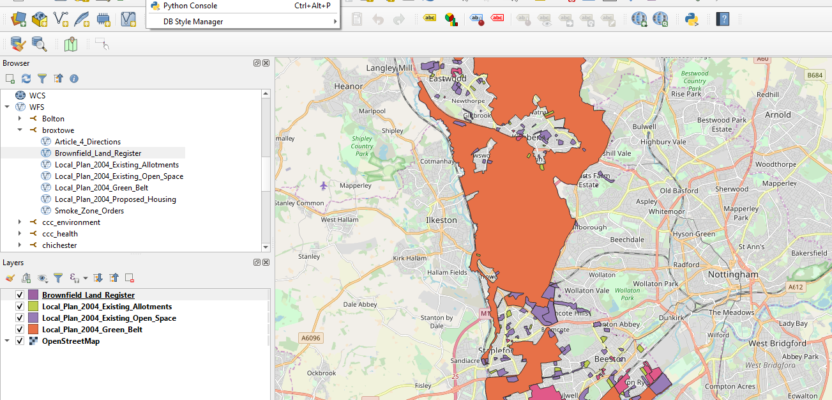
First, make your map in QGIS and set any attribution. Select colors and other information how you would like it, then open the QGIS2Web plugin. If you do not have that, you can click on the “plugins” tab and download it, and then it will appear under the “web” tab in QGIS.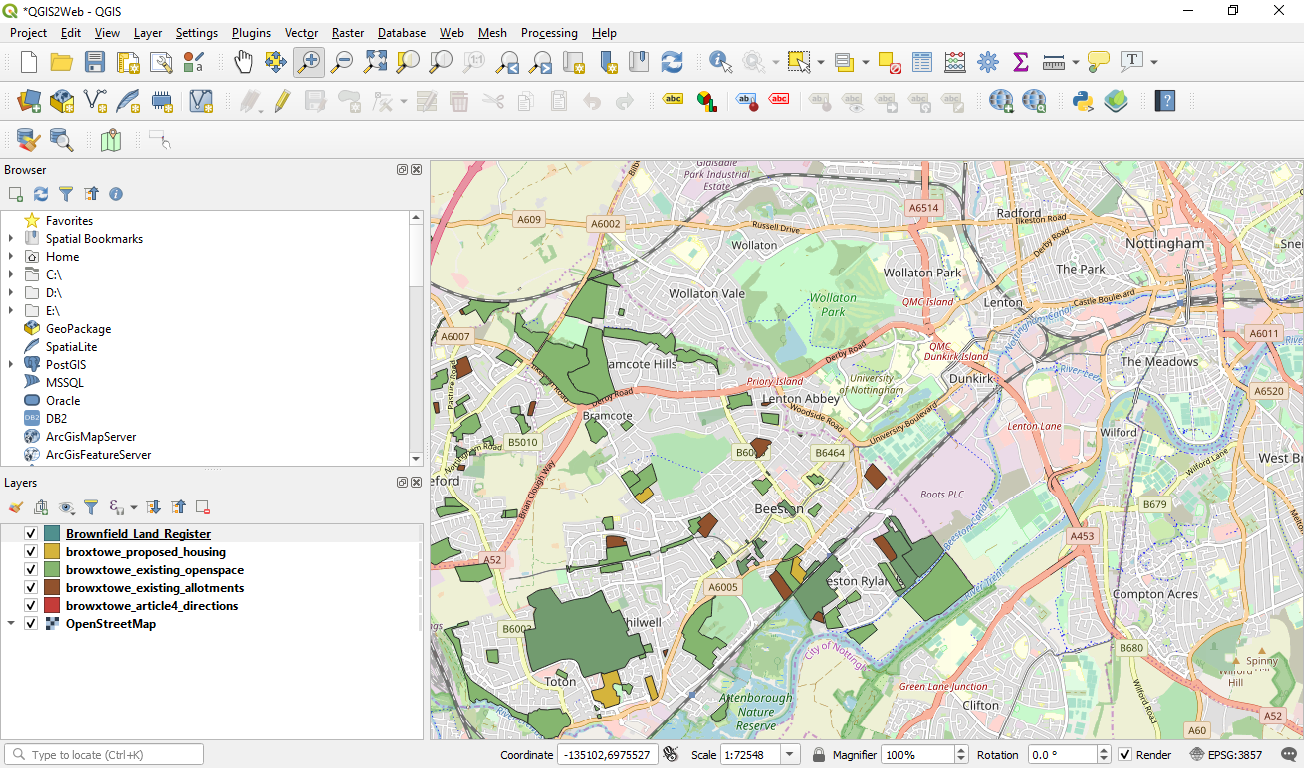 Here you can see that I’ve made a simple map using shapefiles.
 If you look under the “web” tab you will see that “QGIS2Web” isn’t present.

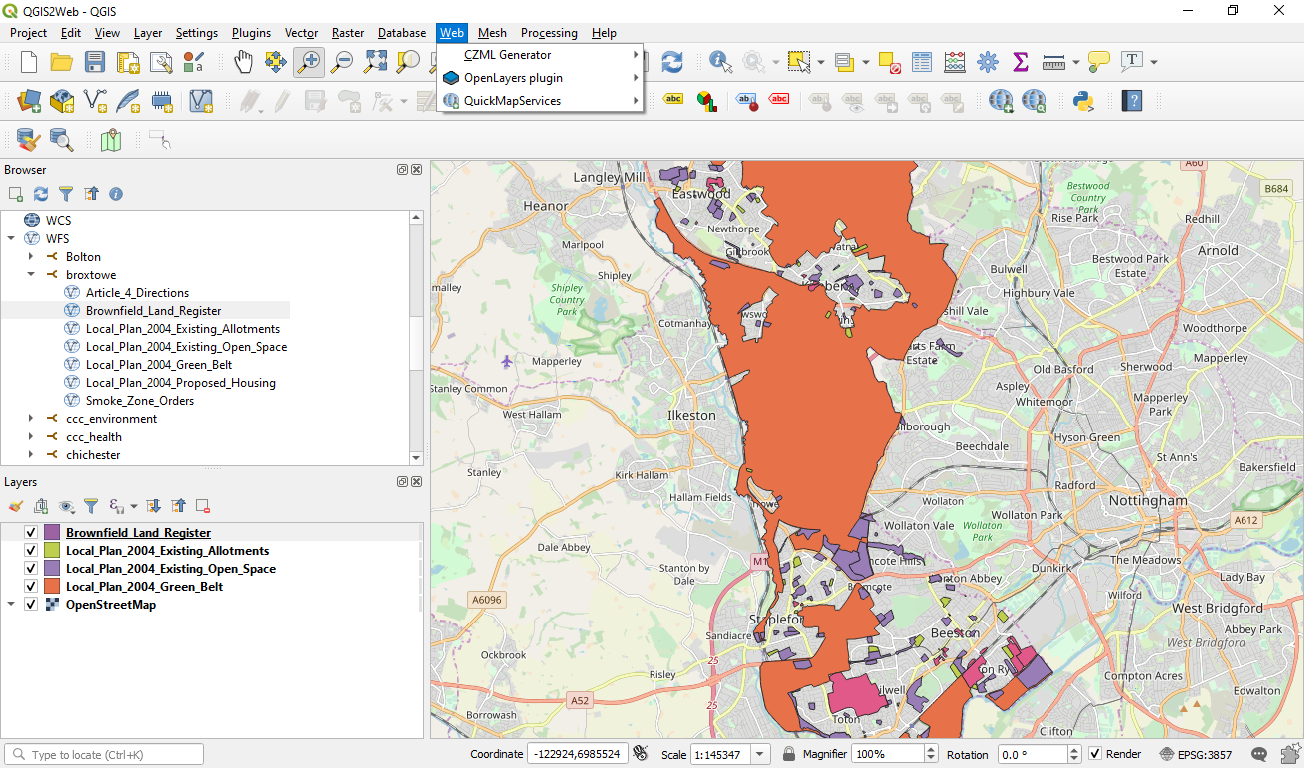
If you open the “plugins” tab (shown left), then you will have the ability to search and install QGIS2Web as in the screen on the right.
If you then return to the “web” tab, as shown earlier, you will see that the plugin is now available.
 Opening the interface, you get to see a live preview of the what the exported map will look like, and in the bottom left you will see that there is the option to select different basemap styles. Each time you make a change, it is a good idea to press the “update preview” button. When you are happy with how everything looks and runs, you simply hit the export button.
Functionality is straightforward, but if you need information on what each of the functions are, the GitHub repository, which Tom Chadwin maintains, is extremely good.
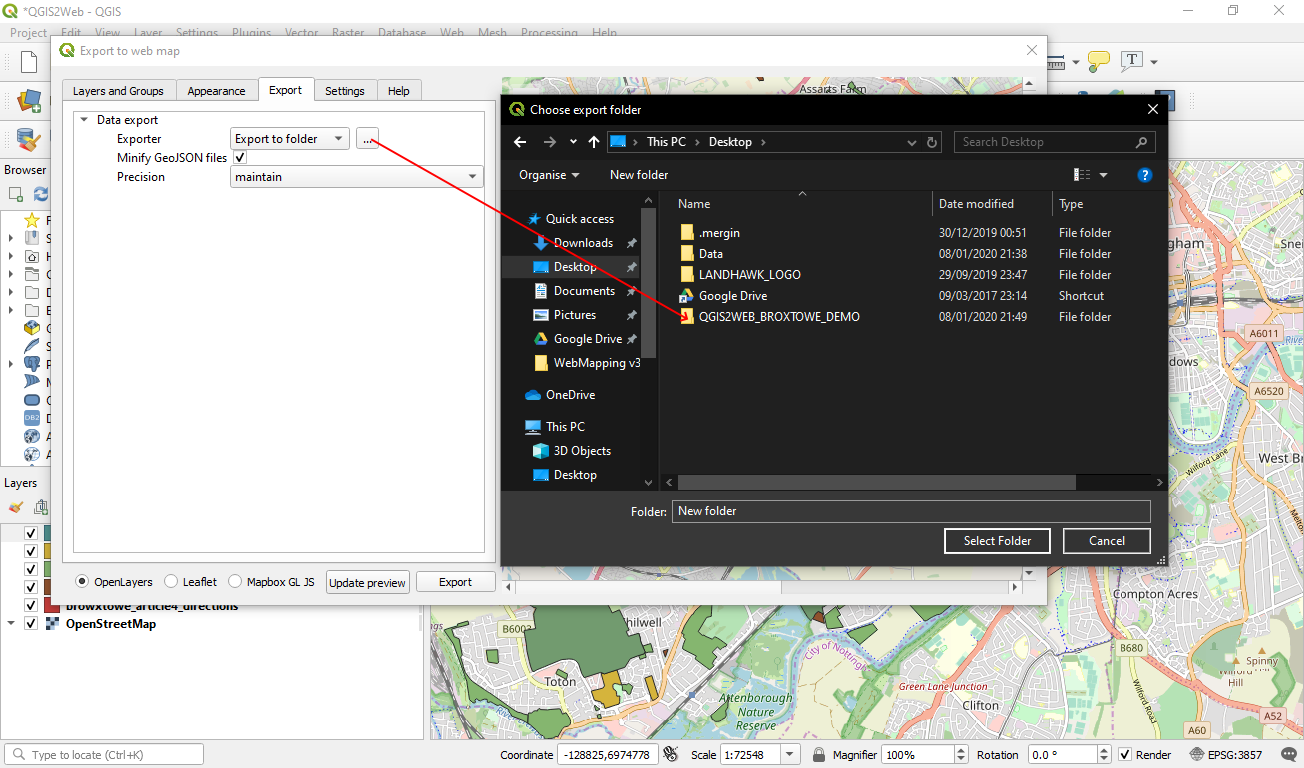 Before you do hit that export button, it is a good idea to set a folder or location to export the output to. If you don’t, I have had files export to my temp folder, and some I’ve never found.
Putting Files on the Internet
If you read the last blog on QGIS2Web, this is the point we made it to. This time we will put the files on the internet. Personally, I use Filezilla client as I prefer being able to drag and drop my files into the location I want them, and it is free, so linking directly to my web-hosted folders is very easy and quick.
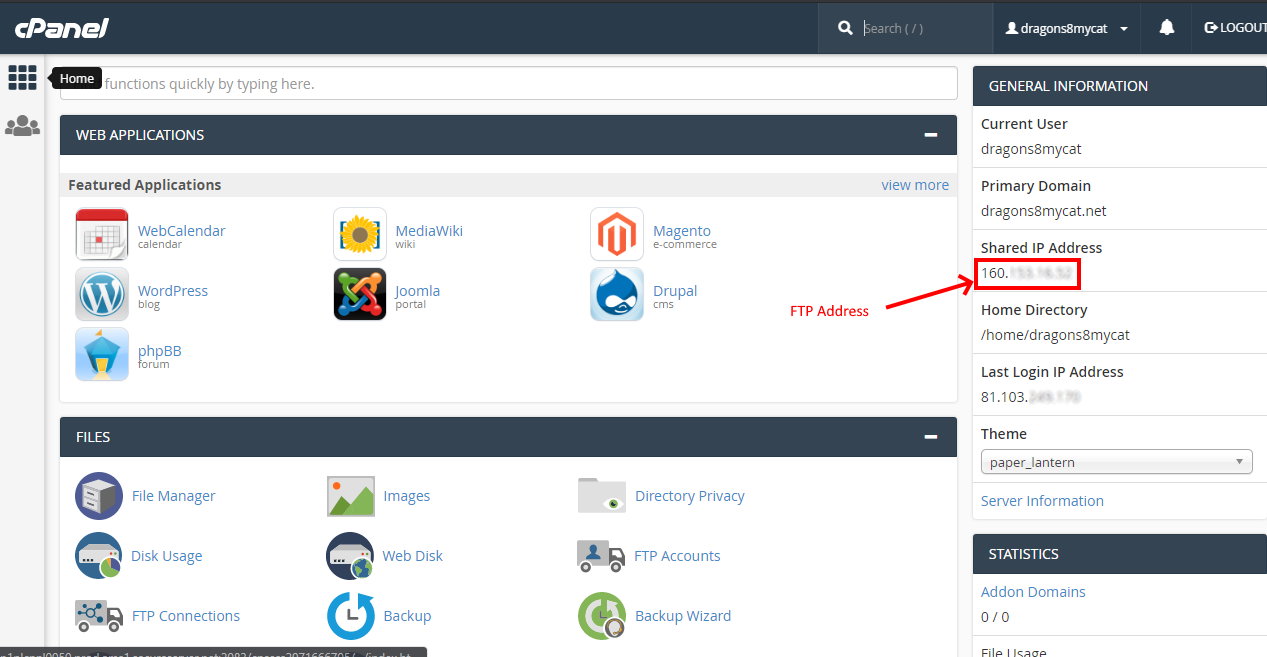
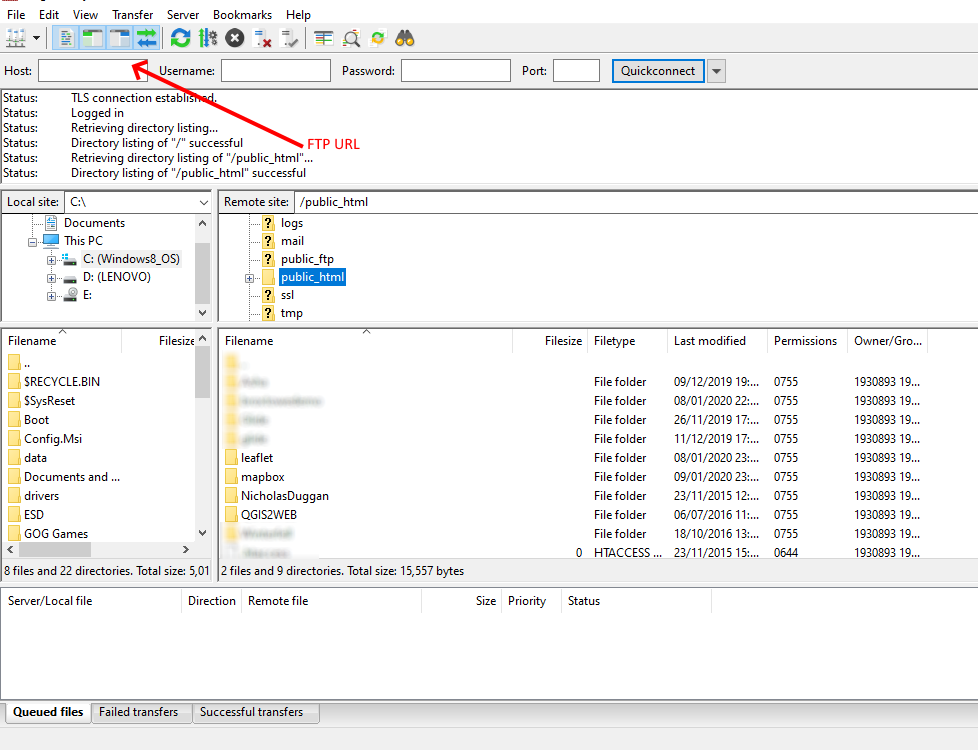 With FileZilla you can enter your site IP (as shown above) along with your username and password and you can navigate your web-hosted folders a lot quicker and easier. If you are unsure of your site IP, you can normally find it on your CPanel page as below:
 Otherwise, it will normally be along with your web-hosting information on the provider’s website.
It may be worth checking your amount of available storage as some can be as little as 10-20mb, but normally they will allow a lot more; mine allows for around 5GB at a price less than £10 a month.
Now, you can use CPanel or your hosts application for loading up your data, but in my experience it can be a little slow and involves multiple refreshes of the browser to ensure data is loaded, whereas I don’t seem to have this issue when using an FTP client like Filezilla.
Now, here is the trick. On a web-hosting system you will have “front end” and “back end.” Front end is what the world will see; the back end is where all the files and code is to make your site work. In almost all of the systems I have used, the web map information needs to sit in the “public html” folder (this may also be called the public folder too).
The best way to test if this is the right folder is to put a simple jpeg picture in the folder and give it a simple name, for example 1.jpg. My public html folder points to http://dragons8mycat.net, so if I put the png file into it, I would locate it at http://dragons8mycat.net/1.png. If I then put that same png in a folder called “image” inside my public html folder, the location would then be dragons8mycat.net/image/1.png. Hopefully, you get the idea!
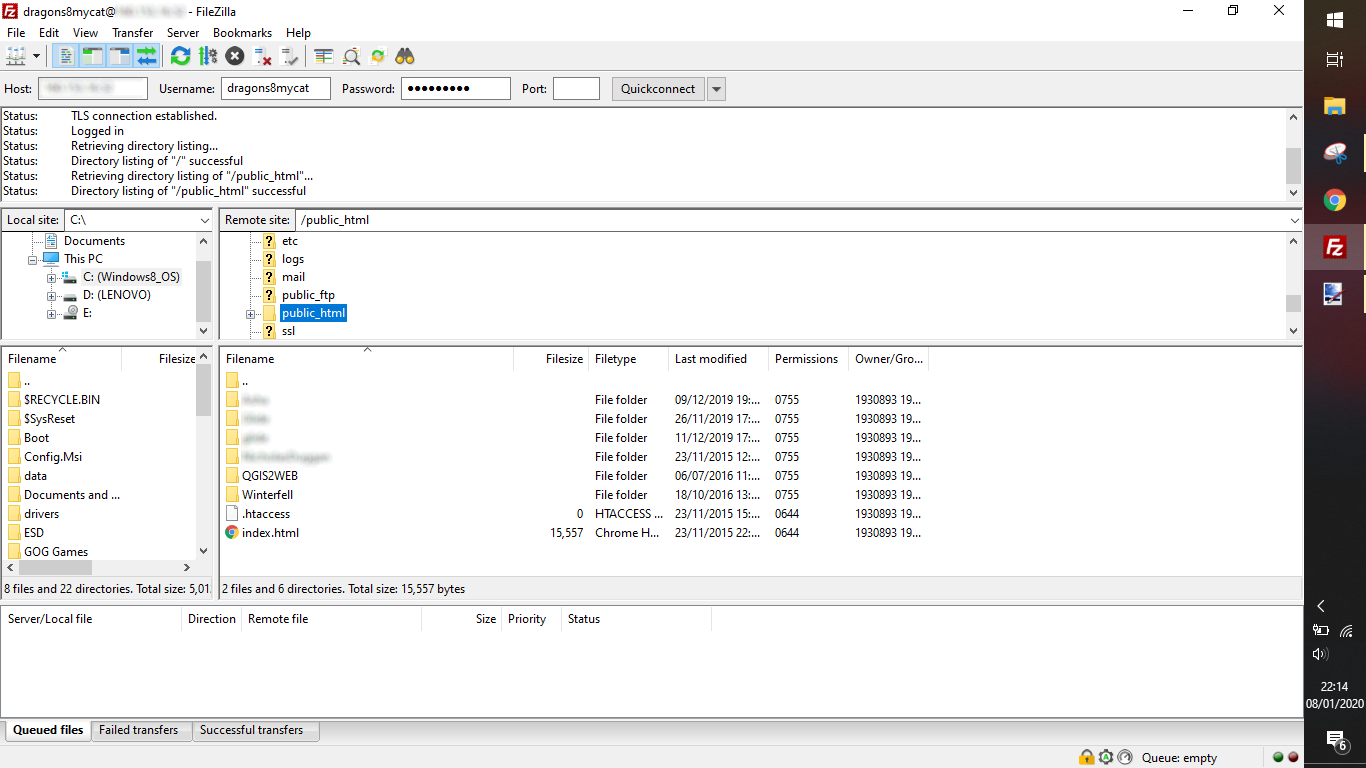 So, think all the way back to the QGIS2Web you exported. Give the folder the name of a subdomain you want and then drag this into the public html folder and refresh. The web map should now open if you try to open the index.html file on your website!
In the example above I gave my QGIS2Web folder the really snazzy title “QGIS2Web” and then put that into my public html folder, so the URL to open my map was http://dragons8mycat.net/broxtowedemo/index.html
Please send us links to your creations!